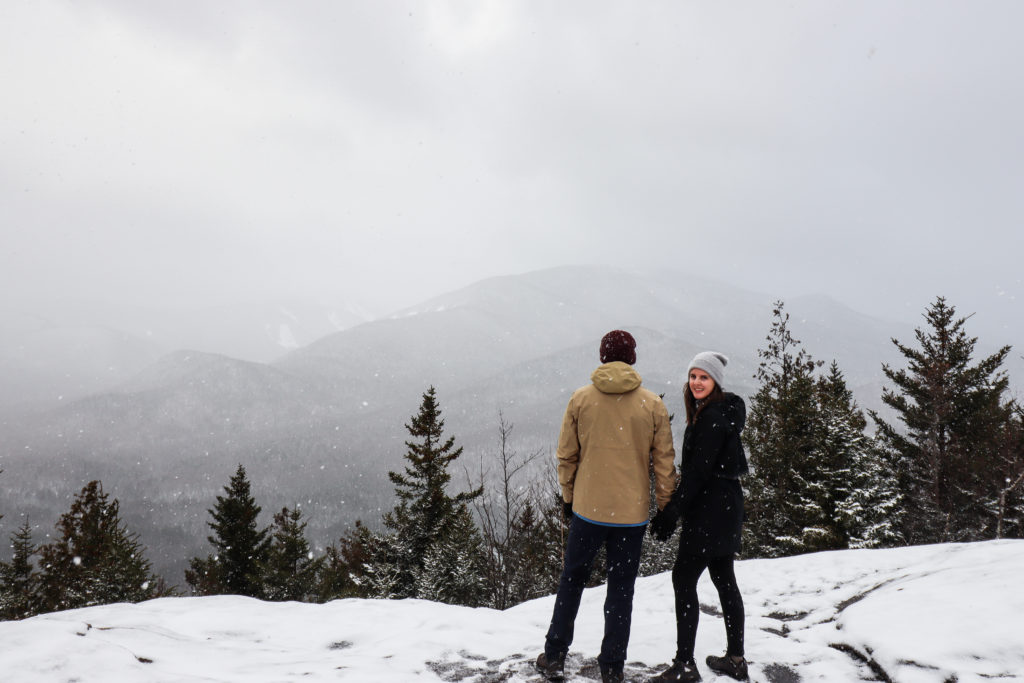
Hiking is not just for the spring, summer and fall seasons. While winter hiking is not for everyone, it is one of our favorite ways to explore the outdoors this time of year! One of the main benefits is less crowds, which equates to available parking spots at the trailhead and summit photos with no one around. Furthermore, in 2020/2021 it means less times you need to put your mask on and off. Additionally, the beautiful snowy backdrop can make for some epic photos. With all this said, there are important things to remember and pack when hiking in the winter vs. the summer. Here is our list of the top ten most important tips for winter hiking.
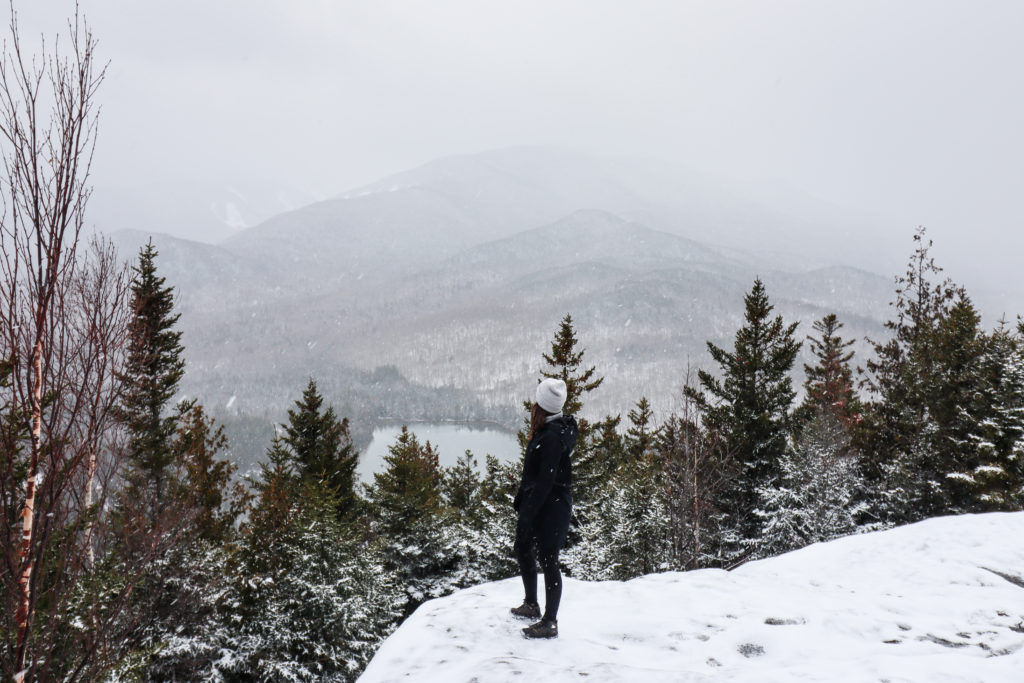
Table of Contents
1. Know Your Trail
This tip could arguably be the most important one. Firstly, you should know whether the trail is appropriate for winter hiking. Not all trails are four-seasoned, but some quick Alltrails research will guide you. Sometimes the towns will also have a webpage that outlines winter hiking trails, which is what Lake Placid does. Secondly, make sure to study the trail map ahead of time. The trail markers could be more covered than usual, so do not plan to rely on them 100% of the time. In addition, there will be fewer crowds and footprints to follow! To add to this, frequently getting your phone out will be cold and bothersome (more on this later).
2. Know Your Weather
Knowing your weather is also imperative for ensuring a safe and enjoyable hike. In addition to a weather app, ensure you check a radar report. Looking at a radar will allow you to see surrounding areas and incoming storms. The weather forecast will help guide whether it is an appropriate day for hiking or not. While cancelling a hike you drove and slept over for can be disappointing, this is not something you want to gamble on. Lastly, anything less than 32 Fahrenheit (0 Celcius) can get dicey, so plan accordingly.

3. Dress Appropriately
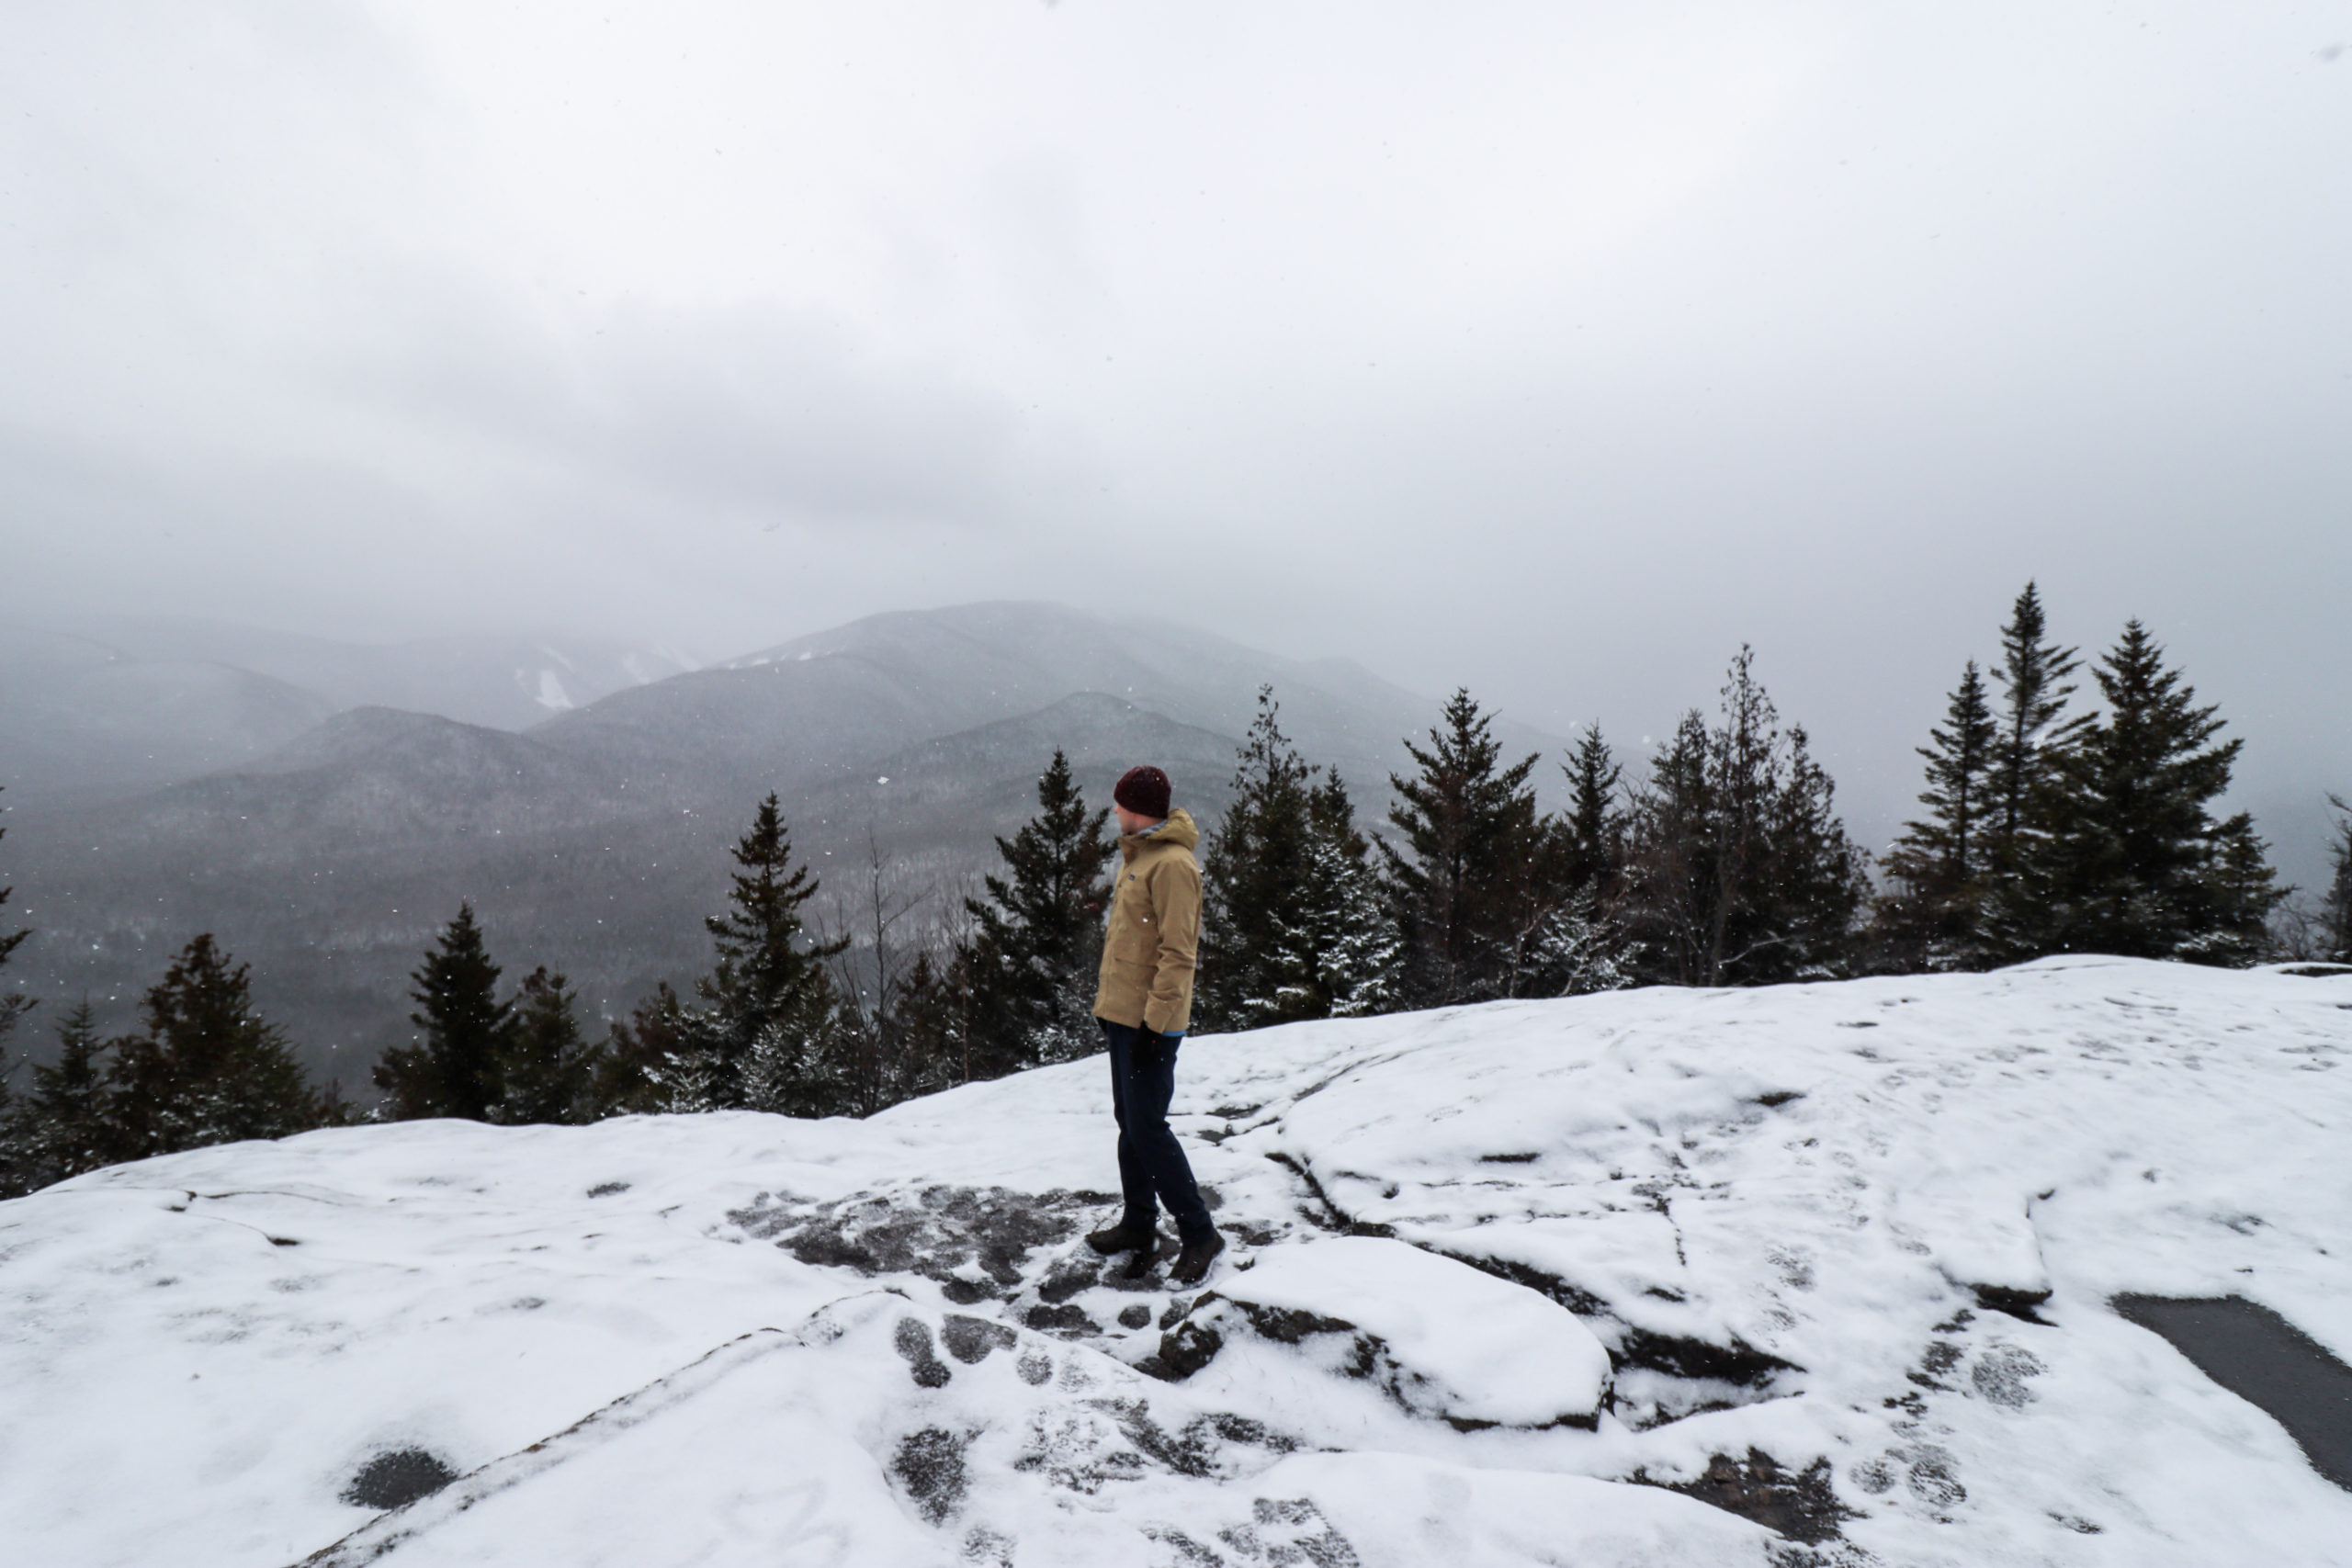
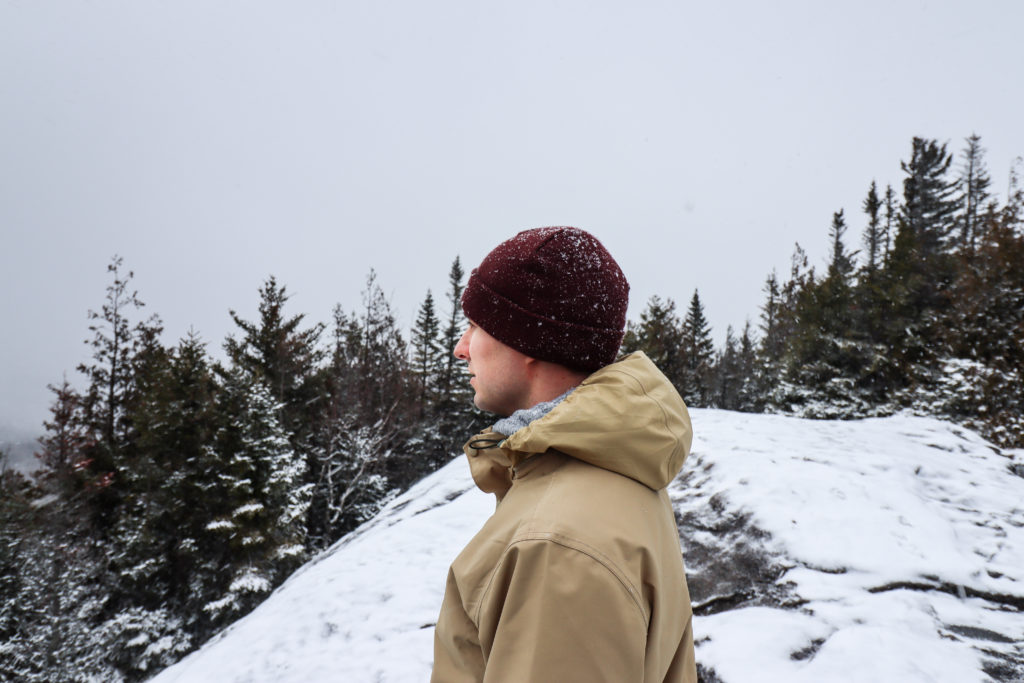
The success of a winter hike hinges on what you wear. Before we get into our recommended layers, let’s discuss cotton. Cotton and the winter are not friends! Cotton holds water more easily, which can freeze in the winter. So let’s all pass on the cotton for hiking. Now, onto layers. We recommending starting with a base layer. Base layers should be moisture wicking, which could include merino wool or dry-fit material. From here, layer as needed for warmth. If it’s warm out you may only need a long sleeve on top of this, but if it’s below 32F you will want a warmer layer. Warmer layers most often include fleece pullovers. Next is your outer layer. Whether snow is expected or not, wear a water and windproof outer layer. Often for us, this looks like having an insulated jacket or vest underneath a waterproof shell.
Now time for the additional cold weather gear. For socks, remember that the no cotton rule extends to your feet. Wool socks are best for moisture wicking and blister prevention. If you are wearing gloves, which we recommend, have gloves with grip on the palms. This grip will make using poles with gloves seamless. Lastly, wear a hat. A lot of heat is lost through the head, so hats are a must. We recommend a wool or moisture wicking hat as well.
4. Start Cold and Pack Extra Layers
Starting your hike feeling cold may seem counterproductive, but hear us out. You want to start at the trailhead being chilly, not freezing, just chilly. As you hike up you will start to work up a sweat, however once you stop moving this will mean you are wet and cold. Work to prevent this as much as possible, by starting with less layers. Have a backpack filled with layers to add as needed. Additionally, bring more layers than you need (yes, this includes extra socks!). You will most likely be completely bundled at the summit and then peal away again as you hike back down. Overall, hiking up is the warmest you will be and the summit is the coldest you will be, with the descent being somewhere in between so keep this in mind when starting out! A pro tip: pack extra layers in a waterproof dry bag (anything from a Ziploc baggy to a dry seal bag) to prevent having damp layers if it snows or rains.
5. Wear Hiking Shoes
No matter the difficulty of the terrain, wear hiking shoes. The terrain will be rougher and more wet in the winter, so these are a must. Winter boots are too clunky and could lead to blisters, while running shoes will get you wet and cold feet. So, whether you’re walking a flat trail or steep switchbacks, wear hiking shoes. The best hiking boot option will be the waterproof ones, with Gortex being the ultimate waterproof material for boots. Pro tip: having packable crampons or microspikes, such as, can be a savior. If it was recently warm at the trail, then melted snow typically turns to ice overnight. Having microspikes may not always be needed, but are relatively inexpensive and easy to carry just in case.
6. Start Your Hike Early
The sunsets are early in the winter, so you need to start your hike earlier to compensate. Not only will sunset lead to less visibility, but it will lead to colder weather. You do not want to be on a trail after dark in the winter, so work to avoid this. Furthermore, trails are always slower and more technical in the winter. If it’s a hike that takes you 3 hours in the summer, plan for longer time in the winter. The cold, the snow and the more technical terrain are all causes for making hikes longer. For example, we always add 30% of our total hiking time when winter hiking.
7. Drink Water
When hiking in the winter, you will often not feel thirsty, but dehydration can still occur. Packing and drinking water should be comparative to the amount you do during summer hikes. For us, we often have to remind ourselves to drink while hiking. Setting a goal of every 30 mins can be helpful to ensure you’re hydrating regularly. Another recommendation is to have your water bottle easily accessible. Easily accessible water bottles means not having to open a bag or take off gloves, which will cut down on your stopping time preventing you from getting as cold.
8. Eat Food
Going along with water is the need to still eat when hiking in the winter. Many do not want to stop and eat as they fear getting too cold. However, the more you eat, the warmer you will be. We recommend bringing quick, calorie dense snacks. This will limit the time of needing to stop and eat, which should help keep you warm. Pro tip: keep your granola bars in an inside jacket pocket, so they aren’t hard and frozen when you go to eat them.

9. Keep Your Phone Warm
This one may seem silly, but let’s think this through. Nothing will drain a battery faster than the cold, this includes cellphone batteries. Cellphones when hiking are important for emergency use and maps, so ensure you keep it warm. We find placing your cellphone in a coat or sweater’s inside pocket works well. Additionally, pack an extra charger. If a drained battery is of concern, don’t hope for the best, simply pack an external charger. Pro tip: try placing the external charger in the middle of all your packed layers to keep it warm-ish for the majority of the hike.
10. Tell Someone Your Plan
Last, but certainly not least, is telling someone your plan. Never head out on a hike with no one knowing. A great plan is to provide someone the trail you are hiking, your estimated start time, the estimated length and the route you are taking to drive there and back. Hopefully, this remains an overly precautionary tip for everyone, but better safe than sorry! Some trailheads do have a sign in sheet, which is used for emergency use and tracking, but these may not be checked as frequently in the winter.
Overall, winter hiking is beautiful and something we have come to love. With this said, there are many inherent risks as well. When hiking in remote, mountainous areas, avalanches can be a risk. We did not discuss this as many of our hikes have low avalanche risk, but ensure you have the appropriate gear if going to an area with risks. Secondly, is the risk of hypothermia. Following the above tips should prevent this, but being prepared with an emergency pack is also a good idea.
And as always, leave no trace: Bring out what you bring in. Each trail is unique and has many exciting visitors awaiting it, so make sure you leave it as is or better than you found it. This includes staying on the trail and not bringing nature home with you.
With all this said, the great outdoors is waiting. Don’t let the winter season stop you from getting out and exploring! For some upstate New York winter recommendations, check out our tips for hiking Mount Jo and Indian Head Trail in Lake Placid, as well as Mount Beacon in Beacon!
| | | | |